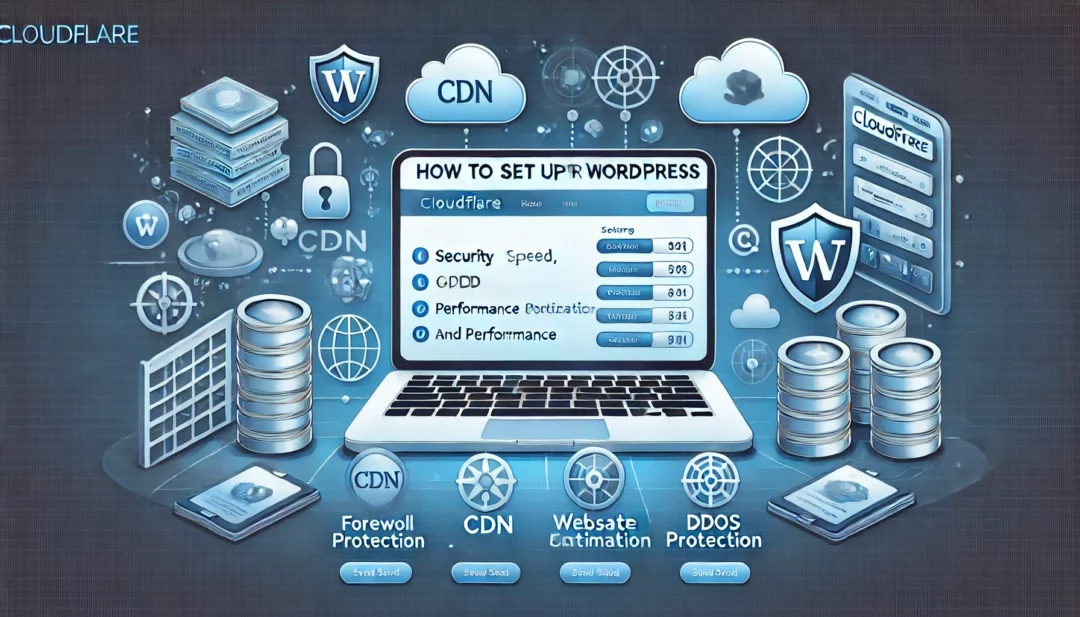
Setup Cloudflare for your WordPress site enhances security, boosts performance, and improves loading speeds. It’s a straightforward process that starts with creating a Cloudflare account and adding your website. Next, you’ll update your domain’s nameservers to point to Cloudflare, ensuring seamless integration. Finally, optimize your settings for caching, SSL, and firewall rules to maximize the benefits.
What Is Cloudflare And Why Use It For WordPress?
Cloudflare is a platform that acts as a content delivery network (CDN) and security service. It enhances website performance by caching content on its global servers and reduces latency for users by serving assets from the nearest data center. Over 285 data centers ensure optimal speed, even during high traffic periods.
For WordPress, Cloudflare provides significant benefits:
- Improved Loading Speeds: WordPress sites load faster due to cached static files like images, CSS, and JavaScript on Cloudflare’s edge servers.
- Enhanced Security: Protection against Distributed Denial-of-Service (DDoS) attacks and malicious traffic is a key feature. Tools like Web Application Firewall (WAF) ensure vulnerabilities are mitigated.
- Better SEO Rankings: Faster load times and secure browsing improve your search engine rankings.
- Reduced Bandwidth Costs: Offloading traffic to Cloudflare reduces hosting server load, lowering bandwidth usage.
Cloudflare’s integration with WordPress is seamless, supporting features like automatic caching, SSL/TLS encryption, and real-time optimizations to improve both user experience and security.
Prerequisites For Setting Up Cloudflare
Setting up Cloudflare for your WordPress site requires preparation to ensure a seamless process. Meeting the prerequisites simplifies the integration and optimizes the results.
Creating A Cloudflare Account
Begin by visiting Cloudflare’s official website to create an account. Provide your email address and choose a secure password during registration. Confirm your email address by following the verification link sent to your inbox.
Once logged in, you’ll be directed to the Cloudflare dashboard, where you can add your WordPress site and select a plan. Cloudflare offers both free and paid plans, with the free tier ideal for basic performance and security needs.
Gathering Your WordPress Site Details
Locate and collect essential details about your WordPress site. Examples include your domain name, nameserver information, and hosting account credentials. These details help you configure Cloudflare’s settings accurately.
Access your hosting control panel to find your current DNS records (e.g., A, CNAME, and MX records), as these need to be imported into Cloudflare’s dashboard. Confirm that the domain registrar account is accessible, as updating domain nameservers is necessary to complete the setup.
Configuring Cloudflare Settings
Optimizing Cloudflare settings for your WordPress site ensures enhanced performance and security. Follow these steps to configure settings effectively.
Adding Your WordPress Site to Cloudflare
- Log in to Your Cloudflare Account
Access your Cloudflare dashboard using your registered email and password. If you’re not logged in, visit Cloudflare’s official website.
- Add Your Website
Click the “Add Site” button in the dashboard. Enter your WordPress site’s domain name (e.g., example.com) without http:// or https://.
- Select a Plan
Choose an appropriate plan for your needs. The free plan suits most basic WordPress sites, while paid plans offer advanced features like WAF (Web Application Firewall).
- Scan DNS Records
Cloudflare scans your domain for DNS records after adding your site. Proceed to confirm once the scan is complete.
Updating DNS Records
- Review Existing DNS Records
Ensure all DNS records match those provided by your hosting provider. Check for A, CNAME, and MX records in your hosting control panel.
- Modify Improper Entries
Edit any incorrect or missing records directly in Cloudflare. For example, if your A record pointing to your server’s IP is inaccurate, update it to the correct value.
- Enable Proxy Status
Set the proxy status to Proxied (orange cloud) for records like A and CNAME to route traffic through Cloudflare’s network. Keep others, like MX records, DNS-only (gray cloud).
- Access Nameserver Details
Cloudflare provides unique nameservers for your domain after configuration. You’ll find these on the dashboard under the “DNS” section.
- Log in to Your Domain Registrar
Navigate to your domain registrar (e.g., GoDaddy, Namecheap) and locate the DNS settings or nameserver management section.
- Replace Current Nameservers
Remove existing nameservers and add the ones Cloudflare provides. Ensure no typos during the update process.
- Save Changes and Allow Propagation
Save the updated nameservers. DNS propagation might take up to 48 hours, but most changes reflect within a few hours.
Optimizing Cloudflare For WordPress
Enhancing Cloudflare’s configuration ensures your WordPress site achieves maximum performance, security, and efficiency. Focus on tailored adjustments like SSL/TLS settings, caching, and page rules.
Enabling SSL/TLS Settings
Secure your WordPress site using SSL/TLS to protect data and improve trust. Ensure Cloudflare’s SSL is activated to enable HTTPS.
- Select SSL Mode: Navigate to the SSL/TLS tab in your Cloudflare dashboard. Choose “Full” or “Full (Strict)” modes depending on your server’s SSL certificate. For stricter validation, confirm your server hosts a valid SSL certificate.
- Automatic HTTPS Rewrites: Enable “Automatic HTTPS Rewrites” to fix any mixed content issues and ensure all traffic is securely loaded over HTTPS.
- TLS Version: Set TLS version support to at least 1.2 for compatibility with modern browsers, ensuring security compliance.
Configuring Caching Settings
Optimized caching enhances speed by delivering content from Cloudflare’s CDN rather than your server.
- Page Caching: Under the Caching tab, adjust settings to “Standard Caching” unless your site has unique requirements.
- Browser Cache TTL: Set an appropriate Browser Cache TTL (e.g., 1 day or 1 week) to reduce repeated requests to Cloudflare’s servers.
- Purge Cache: Use the “Purge Everything” button when making significant changes to your WordPress site to ensure visitors see the latest version.
Implementing Page Rules
Page rules let you customize how Cloudflare interacts with specific pages or URLs on your WordPress site.
- Create A Rule: Navigate to the Page Rules section and click “Create Page Rule.”
- Cache Everything: Apply the rule for static resources (e.g.,
/wp-content/*) to maximize caching efficiency. - Disable Security For Admin Pages: Add a rule for
/wp-admin/*to bypass cache and reduce interference with dashboard functionality. - HTTPS Redirect: Set a rule to force HTTPS redirection for all traffic by entering
*yoursite.com/*and selecting “Always Use HTTPS.”
Installing The Cloudflare WordPress Plugin
The Cloudflare WordPress plugin simplifies integrating Cloudflare settings with your WordPress site. It provides tools to optimize site speed, security, and caching without requiring manual updates.
Benefits Of The Plugin
- Easy Integration: The plugin eliminates the need to manually configure settings within Cloudflare’s dashboard by syncing changes directly to your site.
- Automatic Optimization: It enables features like automatic cache purging and optimal settings for WordPress, enhancing performance.
- Enhanced Security: Incorporating security features like Web Application Firewall (WAF) rules and HTTPS enforcement improves your site’s protection.
- Login To Your WordPress Dashboard
Access your WordPress site by entering your admin credentials at yoursite.com/wp-admin.
- Navigate To The Plugins Menu
Click on “Plugins” in the left-hand menu, then select “Add New.”
- Search For The Cloudflare Plugin
Use the search bar to type “Cloudflare” and locate the official Cloudflare plugin by Cloudflare, Inc.
- Install The Plugin
Click the “Install Now” button next to the Cloudflare plugin and wait for WordPress to process the installation.
- Activate The Plugin
Once installation completes, click “Activate” to enable it on your site.
- Sign Into Your Cloudflare Account
Navigate to the plugin’s settings page under “Settings” → “Cloudflare” from your WordPress dashboard. Enter your Cloudflare login credentials, including your API Key, which you can find in your Cloudflare account under “API Tokens.”
- Configure Plugin Settings
Set up essential features like Automatic Cache Management, Development Mode, and enable HTTPS redirect directly within the plugin interface.
- Verify The Configuration
Test your WordPress site to ensure the plugin integrates seamlessly. Check for functionality like successful caching, proper security enforcement, and fast page loading times.
Common mistakes include not copying the full API Key, which invalidates the setup, or skipping the activation step, leaving the plugin inactive. Ensure each step is completed carefully for optimal performance.
Troubleshooting Common Issues
After setting up Cloudflare for WordPress, you might encounter challenges affecting functionality or performance. Addressing these problems promptly ensures smooth website operation.
SSL Errors
SSL errors often occur when the SSL/TLS settings in Cloudflare conflict with the server configuration. Check and adjust the following:
- Verify SSL Mode
Ensure the selected SSL mode in Cloudflare matches your server’s SSL status. For instance, if your host provides a valid SSL certificate, use the “Full” mode. If no SSL exists, switch to “Flexible.”
- Verify Certificates
Confirm your SSL certificate’s validity, including its root certificate. If errors like “ERR_SSL_PROTOCOL_ERROR” or “403 Forbidden” appear, regenerate or re-install your certificate via your hosting provider.
- Enable HTTPS Rewrites
Avoid mixed content issues by enabling Automatic HTTPS Rewrites in Cloudflare’s SSL/TLS settings. This forces assets like images and scripts to load via HTTPS.
- Purge Cache
Clear Cloudflare and browser caches to eliminate outdated SSL errors. Make these updates after modifying SSL settings.
Slow Performance Problems
Slow loading times may result from misconfigured Cloudflare settings or conflicting plugins. Resolve performance issues by addressing these points:
- Review Caching Settings
Ensure caching is functioning correctly. Enable “Ignore Query String” for standard content caching. For dynamic content or frequent changes, decrease Browser Cache TTL duration.
- Examine Page Rules
Misconfigured Page Rules can hinder performance. Create specific rules to cache static files, bypass caching for admin URLs, and enforce HTTPS.
- Minify Resources
Enable minification for HTML, CSS, and JavaScript in Cloudflare’s Speed tab. This reduces file sizes and improves load times.
- Check Plugins
Conflicting WordPress plugins can slow performance. Deactivate plugins like other caching tools to prevent redundancy with Cloudflare.
- Analyze Analytics
Use Cloudflare’s Analytics to identify high-latency requests or traffic patterns. Adjust settings based on these insights for enhanced performance.
By following these troubleshooting steps, you can resolve most common issues and maintain optimal site security and speed with Cloudflare.
Conclusion
Setting up Cloudflare for your WordPress site is a powerful way to enhance performance, security, and user experience. By taking the time to configure it properly and optimize its features, you can ensure your site runs smoothly and remains protected against potential threats.
With its easy integration and robust tools, Cloudflare helps you deliver faster load times, improved SEO, and reduced server strain. Once everything is set up and fine-tuned, you’ll be well-equipped to handle traffic efficiently while keeping your site secure and reliable.
Frequently Asked Questions
What are the main benefits of using Cloudflare for WordPress?
Cloudflare improves website performance, speeds up loading times with its global CDN, and enhances security by mitigating DDoS attacks and malicious traffic. Additionally, it reduces hosting bandwidth costs and helps improve SEO rankings through better site performance.
Is the free Cloudflare plan sufficient for a WordPress site?
Yes, the free Cloudflare plan is sufficient for most basic needs. It offers essential features like CDN, DDoS protection, SSL, and caching, making it ideal for small to medium websites.
What information do I need to set up Cloudflare for WordPress?
You’ll need your domain name, nameserver details, and DNS records from your hosting control panel. This ensures accurate configuration when integrating Cloudflare with your WordPress site.
How do I update nameservers for Cloudflare?
Log in to your domain registrar’s account, navigate to the nameserver settings, replace the current nameservers with those provided by Cloudflare, save changes, and wait for DNS propagation.
How does Cloudflare improve website speed?
Cloudflare caches static content on its global CDN servers, reducing latency and ensuring faster content delivery. Additionally, features like resource minification and optimized caching further enhance performance.
What SSL settings should I use for Cloudflare on WordPress?
Enable SSL/TLS in Cloudflare’s settings and select the appropriate SSL mode (Full or Flexible, depending on your setup). Enable automatic HTTPS rewrites to ensure consistent security across your site.
Can I use the Cloudflare WordPress plugin for setup?
Yes, the Cloudflare WordPress plugin simplifies integration. It allows users to optimize settings, manage caching, and enable HTTPS directly through the WordPress dashboard.
What are Cloudflare page rules, and why are they important?
Page rules allow you to customize Cloudflare’s behavior for specific site pages. Popular uses include caching static resources, disabling security for admin areas, and enforcing HTTPS redirection.
How do I troubleshoot issues after setting up Cloudflare?
Common fixes include checking SSL settings for mismatches, purging caches after updates, reviewing page rules, enabling minification, and ensuring compatibility with other WordPress plugins.
Does Cloudflare help with SEO?
Yes, Cloudflare improves SEO by enhancing site speed and security, which are important factors for search engine rankings. A faster and secure site leads to better user experience and higher rankings.