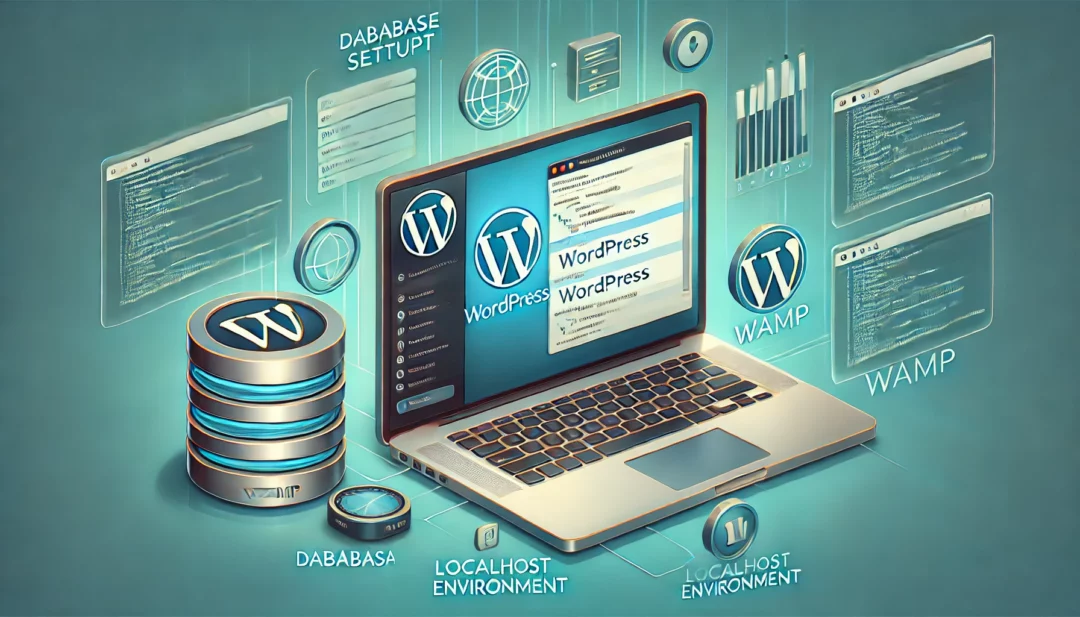
Setting up WordPress on your Windows computer using WAMP is a great way to create a local development environment. Whether you’re a beginner exploring WordPress or a developer testing new features, this process is straightforward and rewarding. With just a few steps, you’ll have a fully functional WordPress site running locally.
What Is WordPress And Wamp?
WordPress is an open-source content management system (CMS) designed for creating websites and blogs. It powers over 43% of all websites globally, making it one of the most popular platforms. WordPress offers pre-designed themes, plugins for extended functionality, and an easy-to-use interface suitable for users of all expertise levels.
WAMP, short for Windows Apache MySQL PHP, is a software stack that creates a local server environment on Windows. It includes Apache (a web server), MySQL (a database management system), and PHP (a scripting language). Together, these components simulate a web server on your computer, providing a safe place to develop and test websites offline.
Using WordPress with WAMP allows you to build a local WordPress site. This setup is especially useful for testing plugins or themes, developing new features, or experimenting with website designs without affecting a live website.
Why Install WordPress Locally On Windows?
Installing WordPress locally on your Windows computer offers flexibility and control for experimenting with WordPress in a safe environment. A local installation enables you to create, test, and refine WordPress sites without impacting live servers.
Learn WordPress Basics Without Risks
You can explore WordPress features like the dashboard, plugins, and themes without risking live data. Beginners benefit from experimenting freely without concerns about breaking or affecting a live website.
Test Plugins And Themes Effectively
A local environment allows you to install, activate, and test plugins or themes in real-time. Developers use this setup to check compatibility and performance before deploying changes to their websites.
Build Sites Offline
A local WordPress installation functions without an internet connection. You can build websites or work on projects anywhere, enhancing efficiency when connectivity is limited.
Save Costs
Avoid additional hosting fees with a local server. Instead of purchasing hosting services for testing, WAMP provides a free solution to simulate a server environment.
Ideal For Troubleshooting
You can replicate issues from a live site to a local setup for debugging purposes. This controlled environment helps prevent downtime while troubleshooting problems.
Gain Speed In Development
Local installations load faster compared to internet-hosted sites. Operations like refreshing, previewing, and saving changes occur instantly on your Windows machine.
These advantages make installing WordPress locally on Windows an essential tool for developers, designers, and those learning WordPress.
Prerequisites For Installing WordPress Using Wamp
To install WordPress on your Windows computer using WAMP, ensure you meet the essential requirements listed below. These steps set up the foundation for a smooth installation process.
System Requirements
Verify your computer’s specifications to ensure it supports WAMP and WordPress. Below are the key system requirements:
- Operating System: Windows 10, 8.1, or 7.
- Processor: Dual-core processor (2 GHz or higher recommended).
- RAM: Minimum 2 GB (4 GB or higher is preferable).
- Disk Space: At least 2 GB of free space for WAMP and WordPress files.
Ensure your system has administrative privileges to install the required software.
Downloading And Installing WampServer
Download and install WampServer to create the local server environment needed for WordPress.
- Visit the official WampServer website and choose the version compatible with your system (32-bit or 64-bit).
- Click “Download” and save the installation file to your computer.
- Run the downloaded
.exefile and select your preferred language during setup. - Follow the on-screen instructions to complete the installation. Assign a web browser (e.g., Chrome) when prompted.
- Launch WampServer, and ensure the WAMP icon in the system tray turns green, indicating all services are running.
Restart the installation if the icon doesn’t turn green.
Downloading WordPress
Download WordPress from the official WordPress website to proceed with the installation.
- Visit the WordPress.org download page.
- Click on the “Download WordPress” button to get the latest version in a
.zipformat. - Save the file in an accessible directory on your computer.
Extract the downloaded .zip file to prepare for configuring WordPress with WAMP.
How To Install WordPress On Your Windows Computer Using Wamp
Installing WordPress on your Windows computer using WAMP creates a local environment for testing and development. Follow these steps to ensure a seamless setup process.
Setting Up WampServer
- Download WampServer: Visit the official WampServer website and download the version matching your system (32-bit or 64-bit). Ensure your system meets the requirements specified on the site.
- Run the Installer: Open the downloaded file and follow the on-screen instructions. During installation, select the folder where WAMP should be installed and configure your default browser if prompted.
- Launch WampServer: Once installed, start WampServer. Verify that the server icon in your system tray turns green, indicating it’s functioning correctly. Troubleshoot services not running if the icon stays orange or red.
Creating A New Database For WordPress
- Access phpMyAdmin: Open your browser and go to
http://localhost/phpmyadmin. Log in with the default credentials; the username is “root,” and the password is blank unless you’ve set one during WAMP installation. - Create A New Database: Click on “Databases” in the top menu. Enter a name for your database (e.g., “wordpress_db”) in the “Create database” field and select “utf8mb4_general_ci” as the collation. Click “Create” to save.
- Confirm Database Creation: Ensure your new database appears in the left menu to confirm it has been successfully created.
Installing WordPress On Wamp
- Download WordPress: Visit the official WordPress website and download the latest WordPress package as a ZIP file.
- Extract WordPress Files: Extract the contents of the ZIP file into the
wwwdirectory within the WAMP installation folder (typicallyC:/wamp64/www/). Rename this folder for easy access (e.g., “wordpress”). - Launch WordPress Setup: Open your browser and go to
http://localhost/wordpress(or your renamed folder). This will initiate the WordPress installation process.
- Input Database Details: On the WordPress setup screen, enter the database name you created earlier, use “root” as the username, and leave the password field blank. Leave database host as “localhost” and table prefix as “wp_” unless you need a custom prefix.
- Run Installation: Click “Submit” to proceed and follow the on-screen prompts. Click “Run the Installation” once WordPress verifies the database connection.
- Set Up Admin Account: Provide a site title, username, a strong password, and your email address. Save this information securely. Click “Install WordPress” to complete the process.
- Access Your Dashboard: After installation, log in to the WordPress admin dashboard at
http://localhost/wordpress/wp-adminusing the credentials you set.
Following these steps establishes a local WordPress environment for experimenting with themes, plugins, and customizations without risk to live sites.
Troubleshooting Common Issues
Even after successfully installing WordPress on WAMP, you might encounter issues. Addressing these promptly ensures a seamless local development environment.
Resolving WampServer Errors
Errors in WampServer often arise due to port conflicts, improper installation, or misconfigurations.
- Addressing Port Conflicts
Ensure port 80 isn’t in use by other programs like Skype or IIS. Open Task Manager, locate conflicting apps, and disable them. Alternatively, modify Apache’s httpd.conf file to assign a different port.
- Fixing WAMP Not Turning Green
If the WAMP icon remains orange, it indicates Apache or MySQL hasn’t started. Restart WAMP and verify proper access to Apache and MySQL services in the Services panel.
- Reinstalling WAMP Components
If issues persist, uninstall WampServer, clear its directory, and reinstall it. Always follow official instructions to avoid corrupted installations.
Database Connection Problems
Database errors typically result from incorrect credentials or database settings.
- Confirming Database Name and User
Verify that the database name matches the one created in phpMyAdmin. Double-check the username and password entered during setup in the wp-config.php file.
- Repairing the Database
If the database is corrupted, enable WordPress’s repair mode. Add define('WP_ALLOW_REPAIR', true); to the wp-config.php file, then access http://localhost/your-site/wp-admin/maint/repair.php. Run the repair process.
- Resolving
Connection Timed OutErrors
Ensure WAMP services are running and check your wp-config.php file for valid database host values (usually localhost).
By systematically addressing these issues, you can maintain a stable WordPress environment on WAMP.
Conclusion
Setting up WordPress on your Windows computer using WAMP is a powerful way to create a secure and flexible local development environment. Whether you’re learning the basics, testing new features, or troubleshooting issues, this method offers unmatched convenience and control. By following the steps and addressing potential challenges, you can confidently build and refine your WordPress projects offline.
Frequently Asked Questions
What is WAMP, and why is it used for WordPress development?
WAMP (Windows Apache MySQL PHP) is a software stack that creates a local server environment on a Windows computer. It allows users to host websites locally, making it ideal for experimenting with WordPress, testing plugins or themes, and learning web development in a safe, offline environment without live site risks.
Can I install WordPress on Windows without WAMP?
Yes, but WAMP simplifies the process by bundling all required components (Apache, MySQL, and PHP). Installing them individually is possible but more complex, especially for beginners. WAMP makes creating a local development environment much easier.
What are the prerequisites for installing WordPress with WAMP?
You need a Windows operating system (compatible with WAMP), a dual-core processor or better, sufficient RAM (at least 2GB), and enough free disk space. Additionally, you must download and install WampServer to set up the local server environment.
How do I create a database for WordPress using WAMP?
You can create a database for WordPress via phpMyAdmin, a tool included in WAMP. Access phpMyAdmin from the WAMP menu, click the “Databases” tab, name your database, and click “Create.” This database will connect with your WordPress site during installation.
What should I do if the WAMP icon doesn’t turn green?
If the WAMP icon stays orange or red, it often indicates a port conflict (e.g., with Skype). To resolve this, stop the conflicting program or change WAMP’s Apache port settings. Restart WAMP after making the adjustments.
How can I troubleshoot database connection issues with WordPress on WAMP?
Verify the database name, username, and password you entered during WordPress setup. Also, confirm that the MySQL service is running in WAMP. If issues persist, repair the database using phpMyAdmin’s “Repair Table” option.
Why should I use a local WordPress setup instead of live hosting?
A local setup provides a safe environment for testing themes, plugins, and customizations without risking live site data. It’s cost-effective, eliminates hosting fees for development, and speeds up website loading during testing.
Can I move a local WordPress site to live hosting later?
Yes, you can migrate a local WordPress site to a live host by exporting the database, transferring files, and updating the site URL. Tools like Duplicator or All-in-One WP Migration can simplify the process.
Is installing WordPress on WAMP suitable for beginners?
Absolutely. Installing WordPress on WAMP allows beginners to learn without risking live sites. It’s an ideal way to practice, test features, and experiment in a controlled local environment.
How do I upgrade or maintain WordPress on WAMP?
You can update WordPress just like on a live site by visiting the dashboard and clicking “Update.” However, always back up your local WordPress files and database before making major updates or changes.